3D Printed Smart Home - Blinds
There have been countless tech solutions, tools, and innovations that shaped my smart home journey over the years. But looking back, nothing has accelerated my ability to create reliable, hyper-customized automations quite like owning a 3D printer. Once I combined 3D printing with DIY electronics—especially the ESP ecosystem—the game completely changed.
This post focuses on one of my favorite categories where this blend shines: smart blinds. From early experiments to fully custom ESP32-powered builds and SwitchBot upgrades reinforced with 3D-printed brackets, here’s how it all evolved.
The Early Days: When Smart Blinds Weren’t Affordable
Today there are several smart window covering options at semi-reasonable prices. But only a few years ago, converting existing blinds into smart ones was either extremely expensive or required pretty serious DIY hacking.
One of my first attempts was inspired by The Hook Up’s DIY smart blind conversion project. His design used a direct-drive method—simple, clever, and elegant. Unfortunately, it wasn’t a great fit for my blinds. They required more torque than the design could provide, and the motor simply didn’t have the power to move them reliably. I ended up creating an external drive solution with a larger stepper motor. This brought something much larger on my smart home DIY journey.
It pulled me into the ESP ecosystem.
That single experiment became the gateway to ESPHome, custom firmware, and microcontrollers.
My First Major Success: A Custom Dual-Smart-Blind Controller
After experimenting and iterating, I built my first major success:
a custom dual-blind controller powered by ESPHome, complete with:
- Dual blind control
- ESP-powered (local, reliable, fully customizable)
- Integrated PIR motion detection
- Temperature + humidity sensors
- Custom-fit 3D printed enclosure and mount
With 3D printing, I wasn’t constrained by off-the-shelf enclosures or awkward mounting angles. I could design something that fit my blinds, and my window frame.
This was the first time I realized how empowering it was to merge smart home hardware with additive manufacturing:
The hardware adapts to my home—not the other way around.
Enter SwitchBot Blind Tilts: Great Hardware, Annoying Longevity Problem
Fast forward a bit, and SwitchBot released their Blind Tilt product. Honestly? For the price, they’re one of the best turnkey solutions for automating tilt blinds.
But there’s a catch:
They tend to rip themselves off their mounts over time.
This is especially true if your blinds are older, heavier, tighter, or slightly misaligned.
Luckily—3D printer to the rescue.
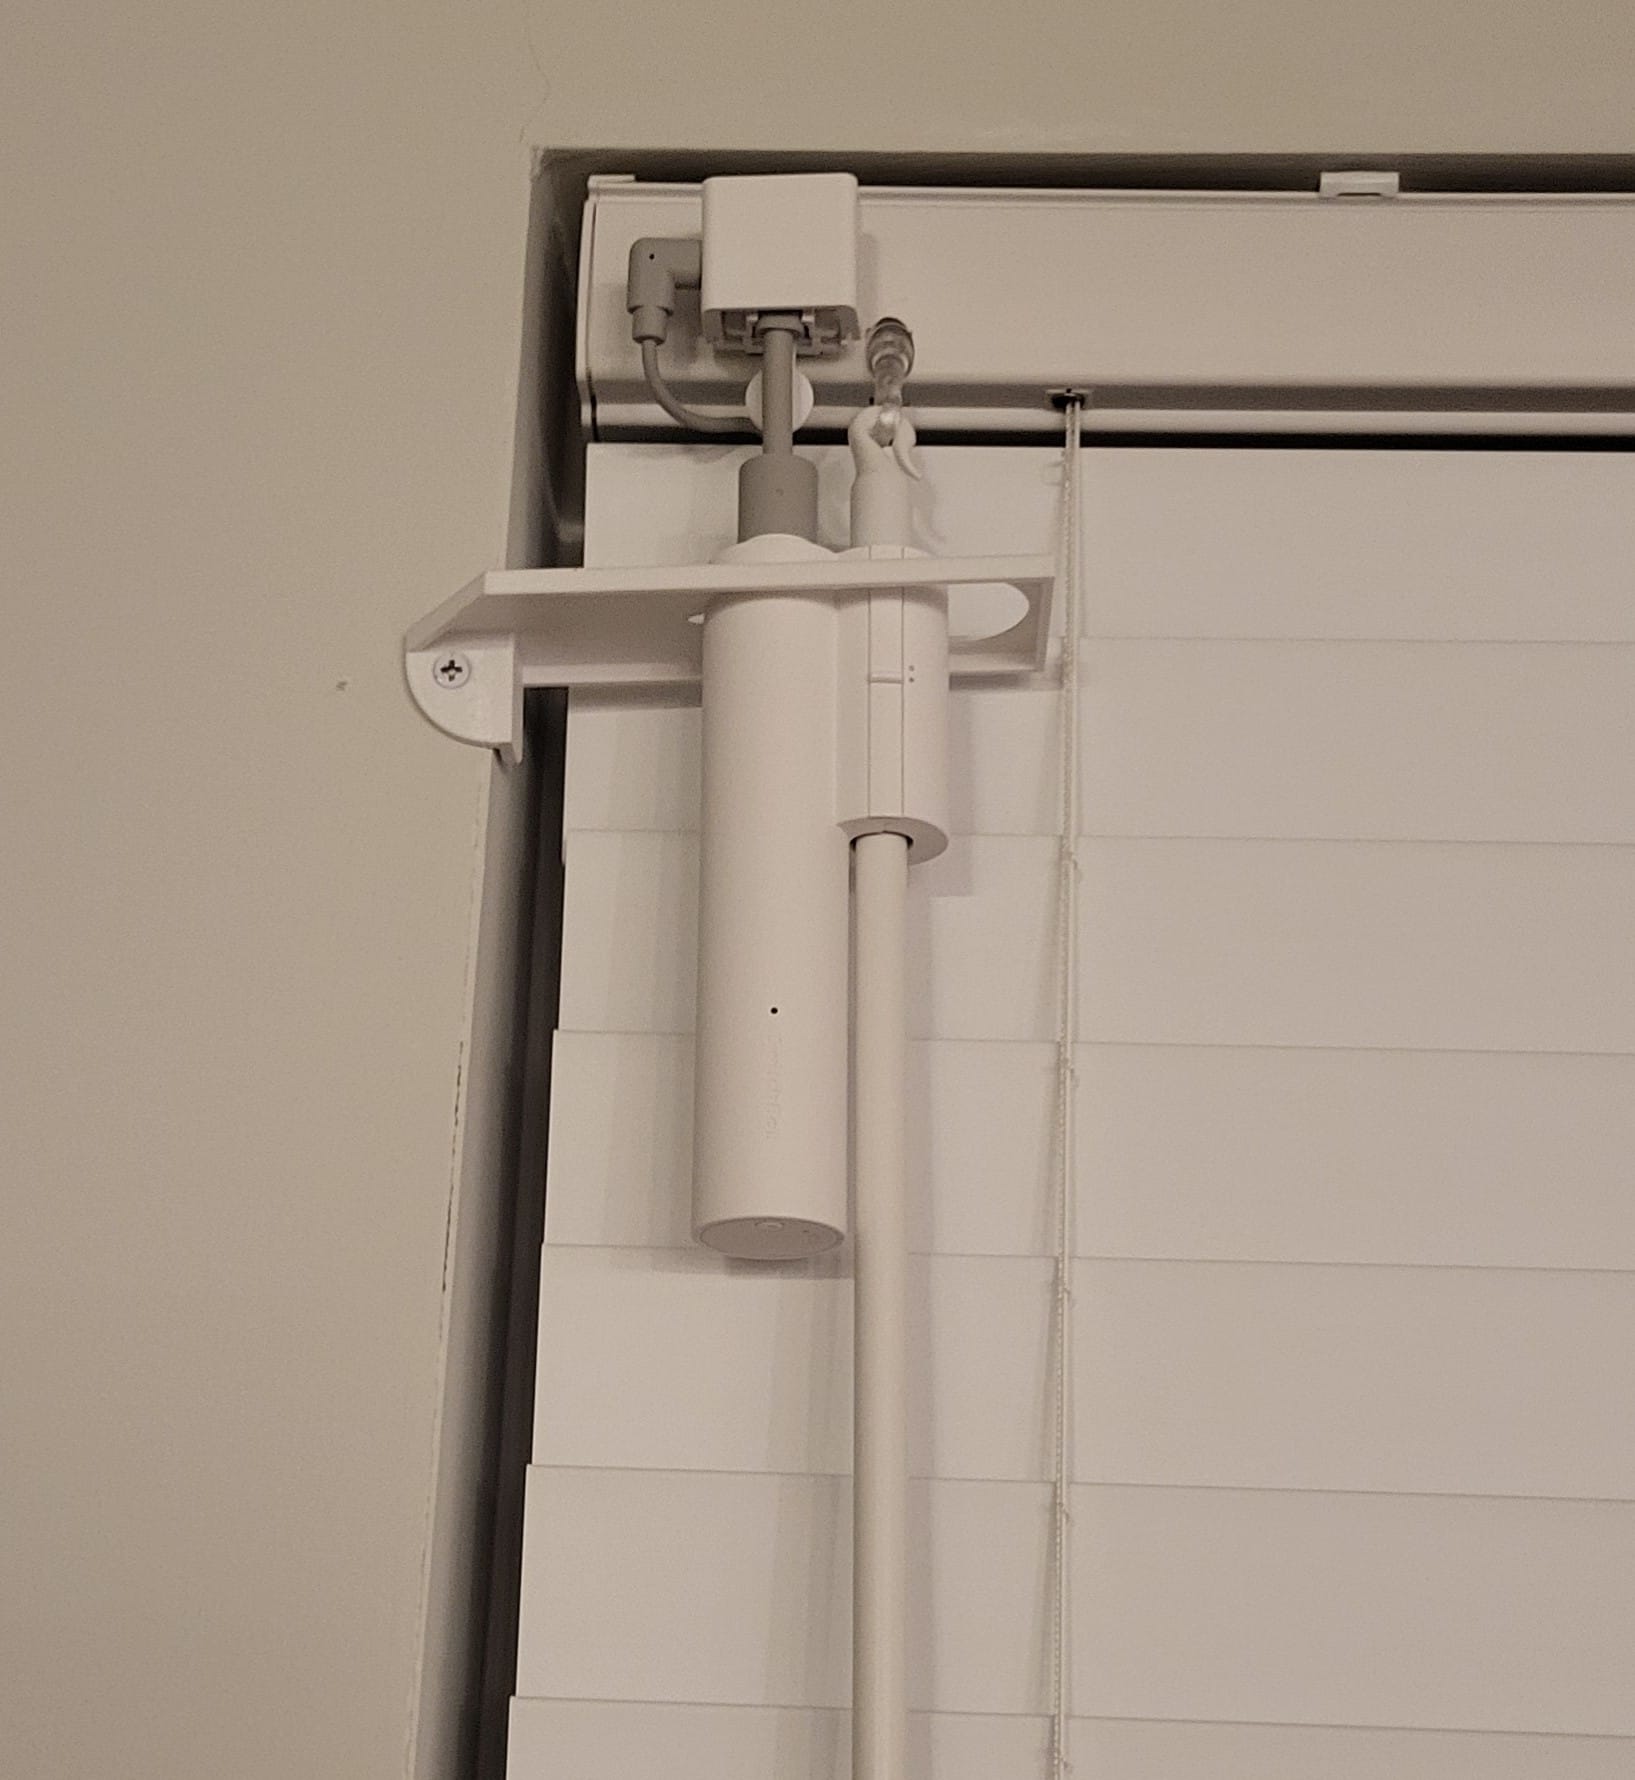
Custom 3D-Printed SwitchBot Blind Tilt Brackets
I originally found a community-created bracket design and used it as a starting point. After some modification for my needs and a few implementations, I realized something I had never fully considered before. Many blinds, even from the same manufacturer, have different offset distances between the tilt rod and the adjacent wall. At first, I created a bunch of fixed-size brackets to accommodate variations. It worked… but it was more time-consuming than needed.
Eventually, I redesigned the bracket with a wider adjustable opening, allowing it to accommodate multiple offset distances with a single print. It prevented unique distance designs for every window but still gave the SwitchBot proper leverage, and—most importantly—stopped the units from ripping themselves off the mount.
This is the beauty of 3D printing:
Iterate. Adjust. Improve. Solve problems on your terms.
Bill of Materials (BoM)
Here’s everything used across my SwitchBot + 3D-printed bracket setup:
- SwitchBot Blind Tilt
- ESP32 Bluetooth repeaters (to improve local BT reliability with Home Assistant)
- 3D-printed blind tilt bracket
- Overture PETG filament
Final Thoughts
3D printing has gone from a fun hobby to an essential tool in my smart home toolbox. It bridges the gap between commercial products and perfectly tailored DIY solutions.